
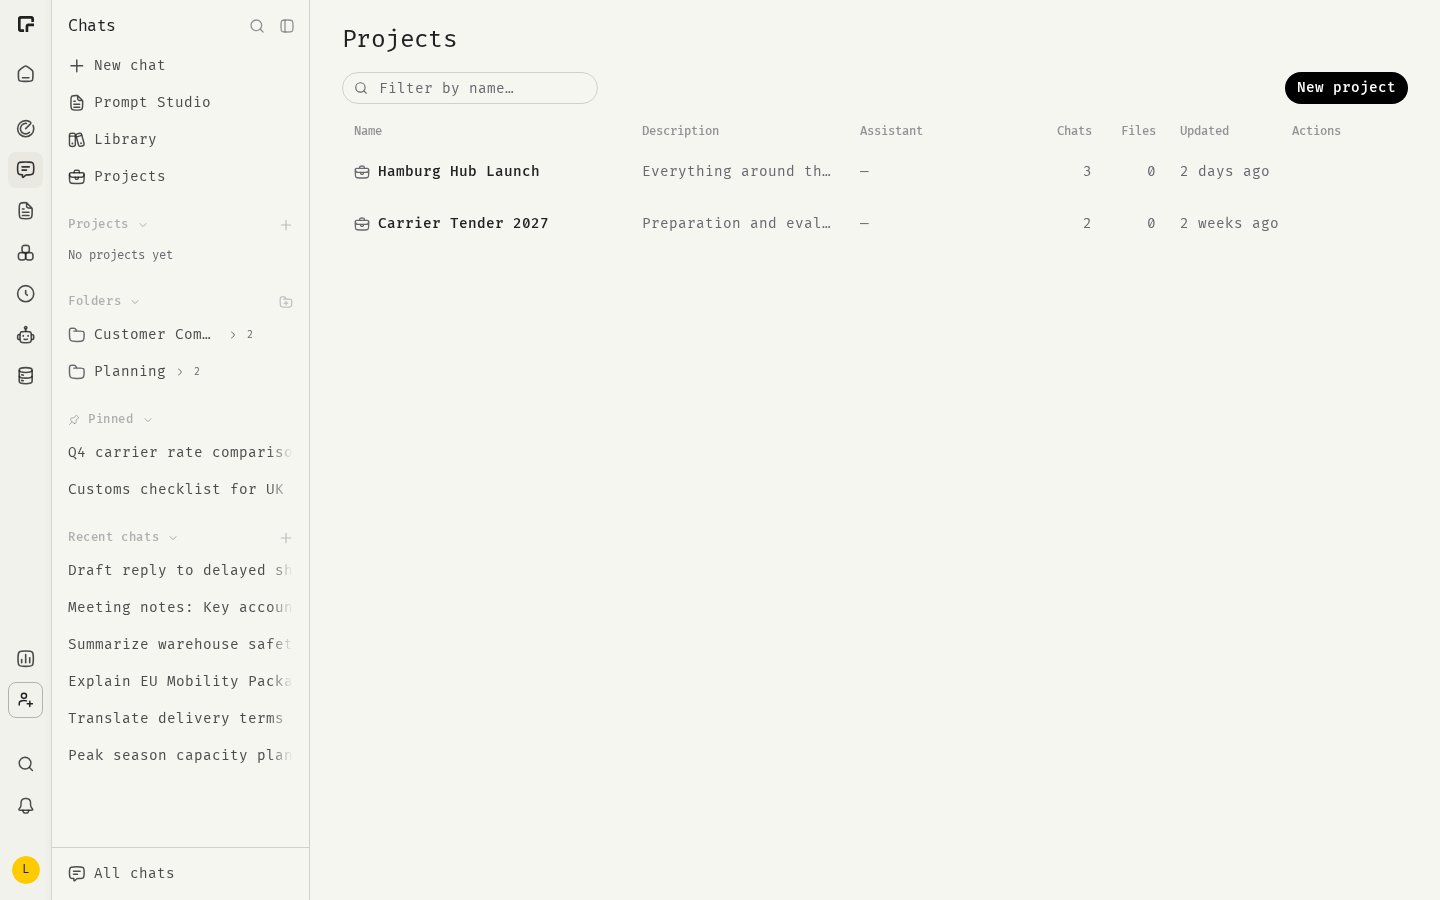
Create a project
- In the Chats sidebar, click Create new project next to Projects.
- Enter a Name and, optionally, a Description.
- Click Create project.
Set up a project
A project page has a composer at the top and four tabs below it.Instructions
Instructions are applied to every chat in this project, after the assistant’s own prompt. Use them for anything that should always hold, for example “Answer in German and cite the attached documents.”- Open the Instructions tab.
- Write your instructions.
- Click Save instructions.
Assistant
Pick an assistant on the Assistant tab, or leave it at No assistant. Chats in this project use this assistant. It cannot be changed inside a chat.Files
Files on the Files tab are available to every chat in this project.- Open the Files tab.
- Drag files onto the upload area, or click it to browse.
- Wait until the files have been processed.
Skills
If Skills are turned on for your organization, you can attach skills to a project. Open the project’s menu, click Edit, and choose skills in the form. See Attaching skills.Chat in a project
To start a chat in the project, type in the composer on the project page and send. The chat uses the project’s instructions, assistant and files automatically. Project chats appear in the Projects section of the sidebar, under their project. Click the arrow next to a project to show or hide its chats. The Chats tab on the project page lists all of them, each with its own menu to pin, rename or delete the chat.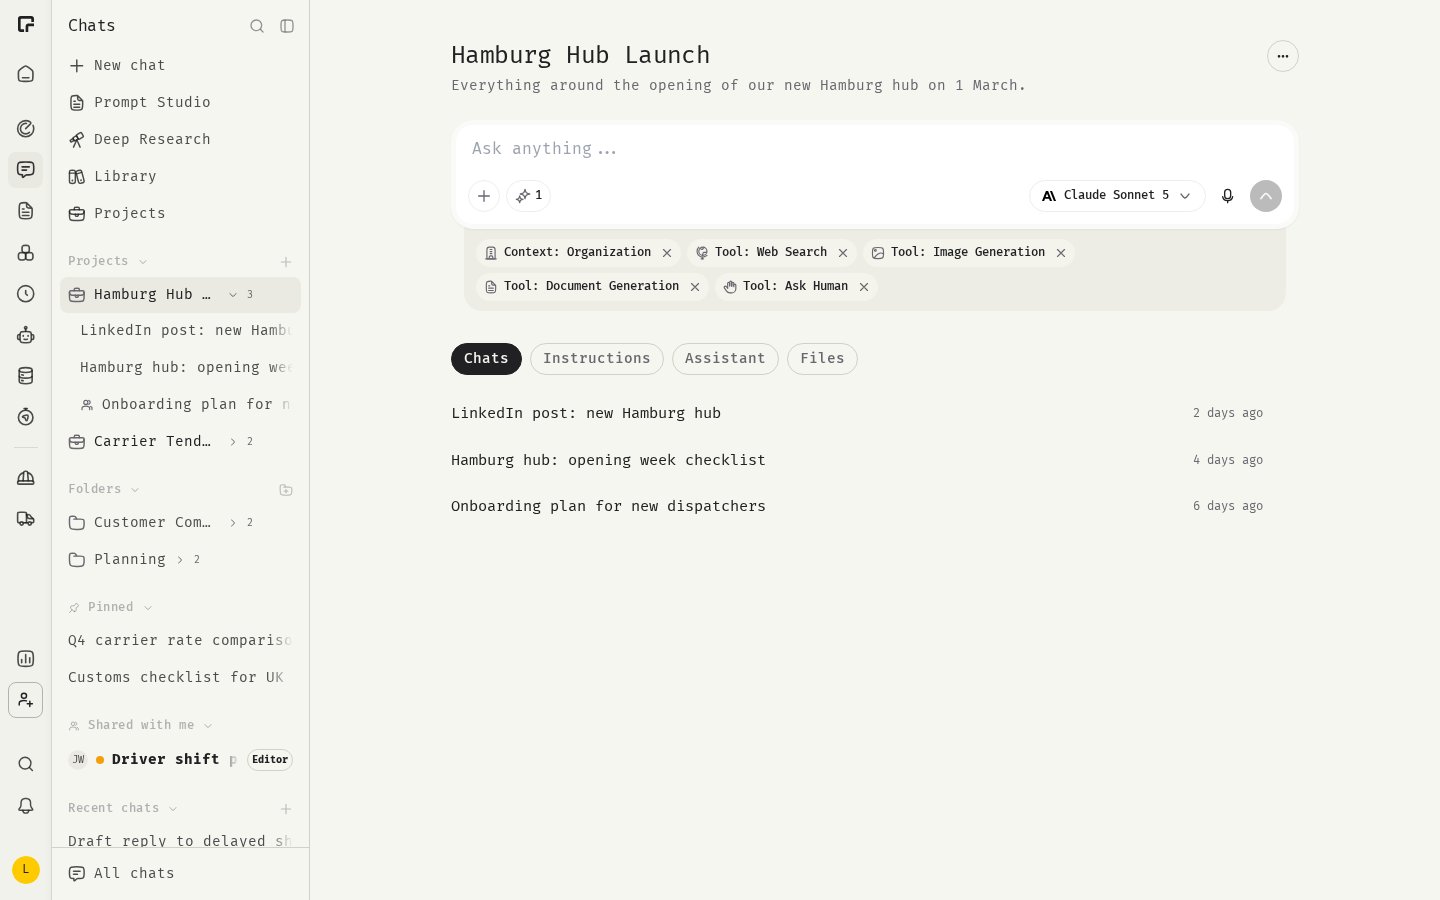
Edit or delete a project
Open the project’s menu (…) on the project page or in the sidebar:- Edit changes the name, description, assistant, instructions and skills.
- Delete removes the project and its files. The chats in the project are kept and move back to your chat list.
Related
Attachments
Add files to a single message.
Assistants
Reusable instructions and tools.
Organizing chats
Folders, pins and search.
Skills
Reusable instruction sets.