

Requires the Radar feature to be enabled for your organization. Ask your administrator if you can’t see it.
Radar is in preview. The screens described here may change as the feature develops.
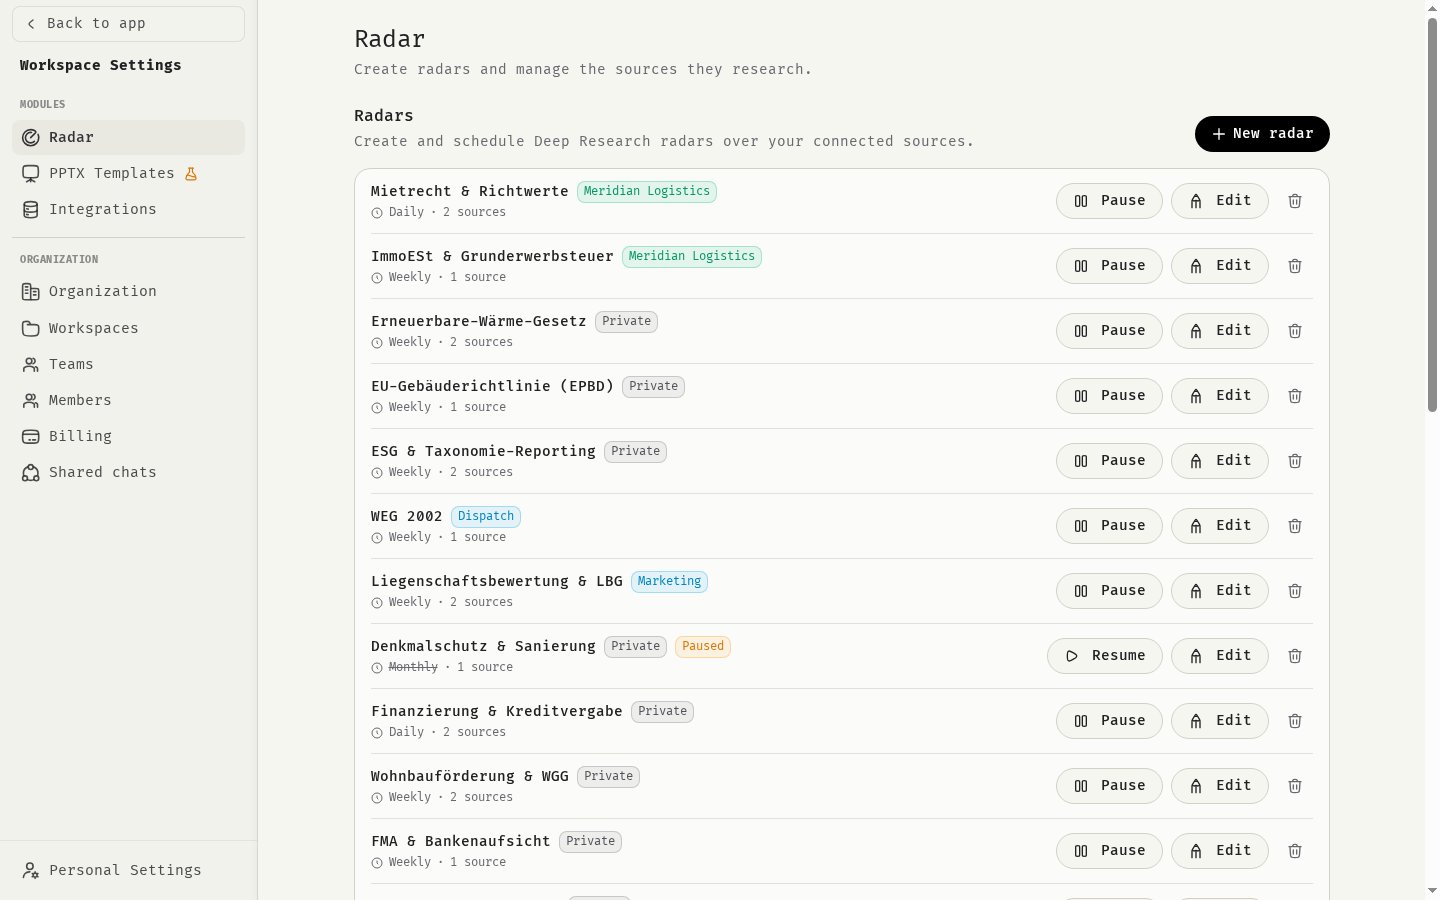
Create a radar
- Open Settings, then Radar under Modules.
- Under Radars, click New radar.
- Enter a Name, for example “Competitor Analysis”. This is the only required field.
- Describe the Research topic. It guides what the radar looks for.
- Pick a Schedule: Manual — no schedule, Daily, Weekly or Monthly.
- Select the Sources the radar should research.
- Choose who it’s Shared with: Private, Team, Workspace or Organisation. For a team or workspace, select which one.
- Click Create radar.
Manage sources
Under Sources in the Radar settings, you see the sources your radars can use:- Deep Research is Built-in and researches the open web.
- Connected integrations appear with a Connected badge.
Read your briefings
Open Radar in the sidebar. The table lists your radars with their Topic, Schedule, Sources, number of Findings and Last result. Use Filter radars… to search, and filter by Auto research or Manual research. Click a radar to open its findings. Each finding shows:- A summary and Key points
- The people, companies or places Mentioned
- The Sources it is based on
- A Relevance score out of 100 and an impact level: high, medium or low
Triage findings
Give each finding a status so your team knows where it stands:
Use the All, Active and Completed filters and Search findings… to find what you need.
Ask about a finding
Click Ask to open a chat grounded in the finding. Try one of the suggested prompts, such as Summarise this finding, Why does this matter? or Draft a note for the team, or ask your own question. You can also Add source to bring more material into the finding: a file (PDF, Word, images) or a link to an article or video.Related
Introduction to Radar
What Radar is and how it works.
Connections
Connect the services your radars research.